This article will guide you on how to download and run our remote tool - Teamviewer.
What is Teamviewer?
Teamviewer is a remote access and remote tool software application that allows us to remotely connect to your machines and from there we can navigate and control your machine as part of any issue we might need to troubleshoot. This can be a much more efficient, quick and easy way to work on an issue compared to having to make a site visit or assist over the phone.
Teamviewer - Windows setup
Below are the steps for downloading and running Teamviewer for your Windows device:
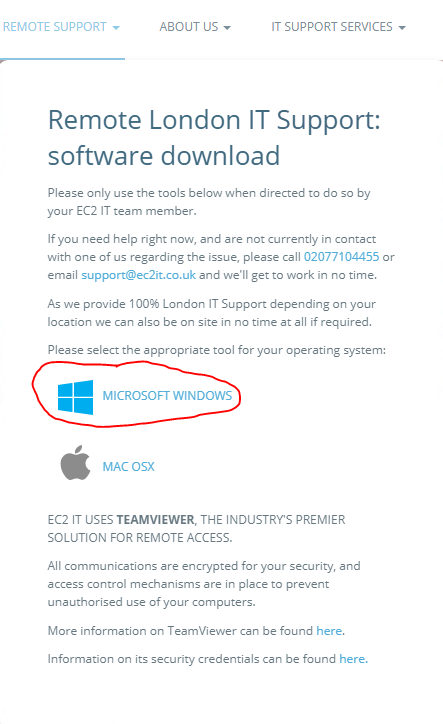
- Go to https://www.ec2it.co.uk/
- Hover over 'Remote Support' and select option for Microsoft Windows:
- Once downloaded, locate the file (normally saved in your downloads folder or you can see download notification in browser) and then either click or double click it to run the application
- Select yes/allow to any prompts that appear related to Teamviewer
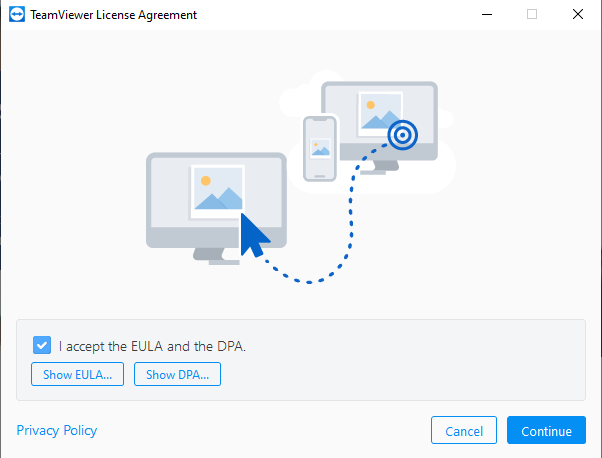
- Tick the box and select continue to the Teamviewer License agreement window
- You should then be presented with a Teamviewer window that contains a random ID and password similar to the below:
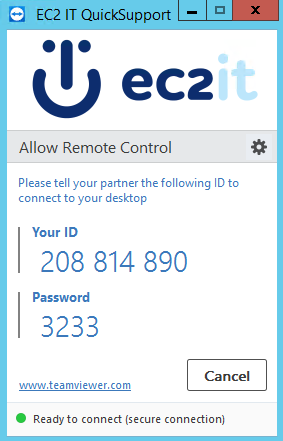
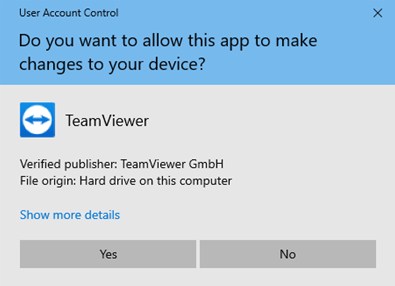
- Please provide this to us and again accept any Teamviewer related prompts that may appear. Specifically, you should be clicking yes to the following prompt to allow us admin access to your machine:
- Once this is done we should now have access to your machine and we can begin troubleshooting the issue
Teamviewer - Mac setup
Below are the steps for downloading and running Teamviewer for your Mac device:
- Go to https://www.ec2it.co.uk/
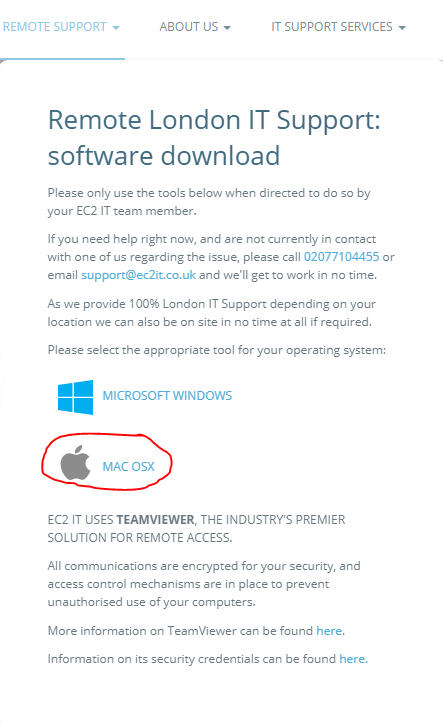
- Hover over 'Remote Support' and select option for Mac OSX:
- Once downloaded, locate the file (normally saved in your downloads folder or you can see download notification in browser) and then either click or double click it to run the application
- Select yes/allow to any prompts that appear related to Teamviewer
- You may also be prompted with the following:
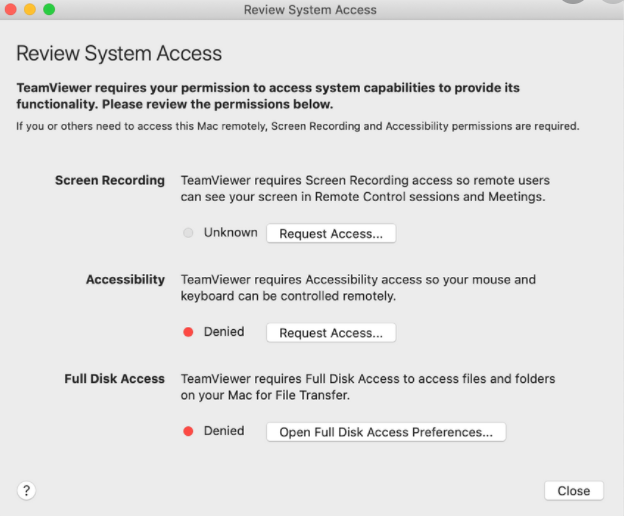
- If you receive this, you should ultimately click on each box and ensure Teamviewer is added/allowed on your Mac. More details can be found in https://community.teamviewer.com/English/kb/articles/44699-how-to-control-a-mac-running-macos-10-14-or-higher
- You should then be presented with a Teamviewer window that contains a random ID and password similar to the below:
- Please provide this to us and again accept any Teamviewer related prompts that may appear
- Once this is done we should now have access to your machine and we can begin troubleshooting the issue
You can also access the page dedicated to Teamviewer directly, without having to go via the home page.